Google Calendar Integration
The Google Calendar Integration feature allows you to sync appointments between BookWellNow and your Google Calendar. Once connected, approved appointments are automatically added to your calendar, helping you manage your schedule and avoid booking conflicts.
Benefits
- Sync appointments with Google Calendar automatically.
- View all bookings in one place.
- Prevent scheduling conflicts.
- Manage appointments from any device with Google Calendar.
- Keep your schedule up to date in real time.
Steps to Connect Google Calendar
- Go to Settings → Google Calendar.
- Click Connect Google Calendar.
- Sign in with your Google account.
- Grant the required permissions.
- Select the Google Calendar you want to sync.
- Click Save Changes to complete the integration.
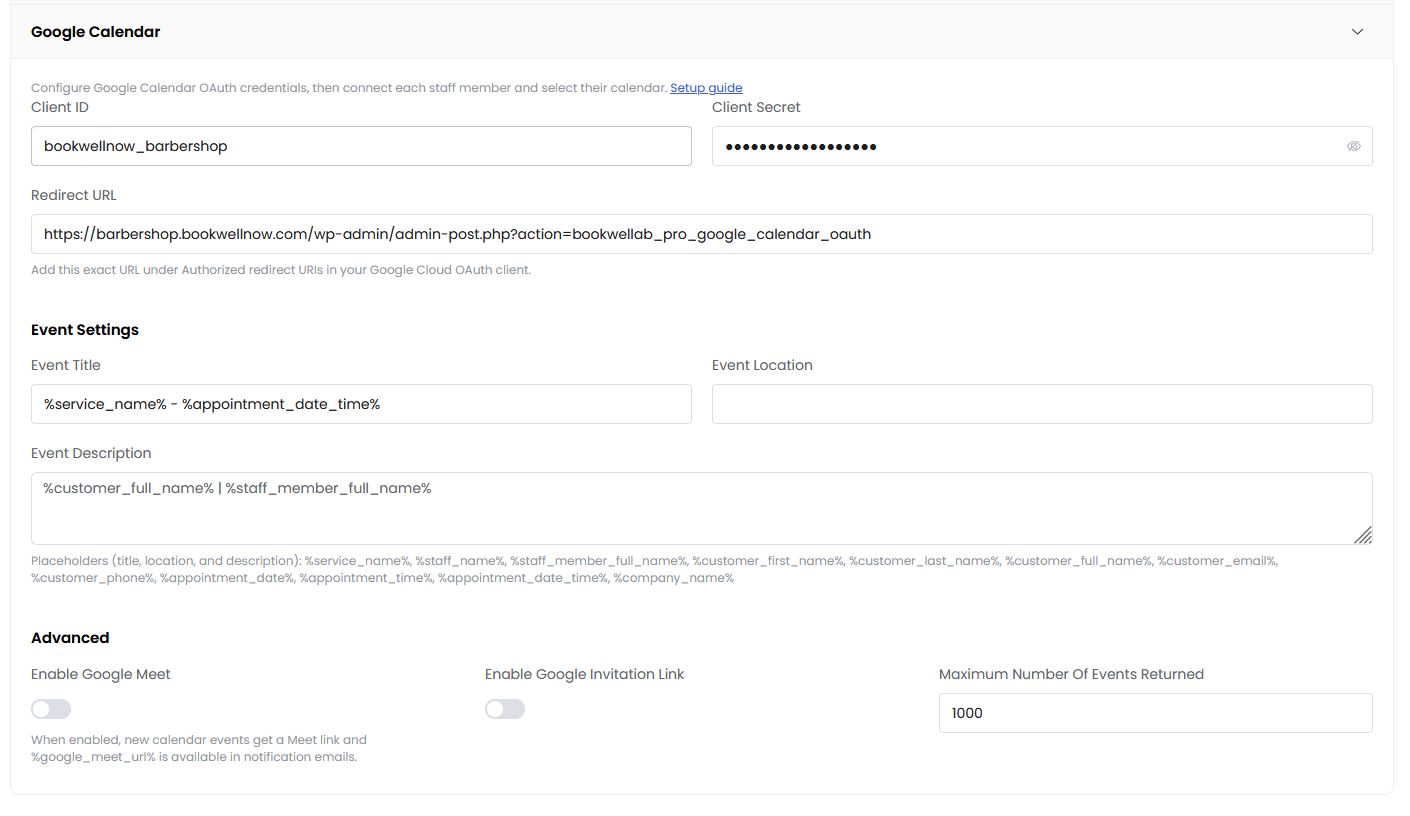
Google Calendar Sync
After the integration is complete:
- New approved appointments are automatically added to Google Calendar.
- Appointment updates are reflected in the calendar.
- Cancelled appointments are removed or updated based on your sync settings.
- Staff members can connect their own Google Calendar for individual appointment management.
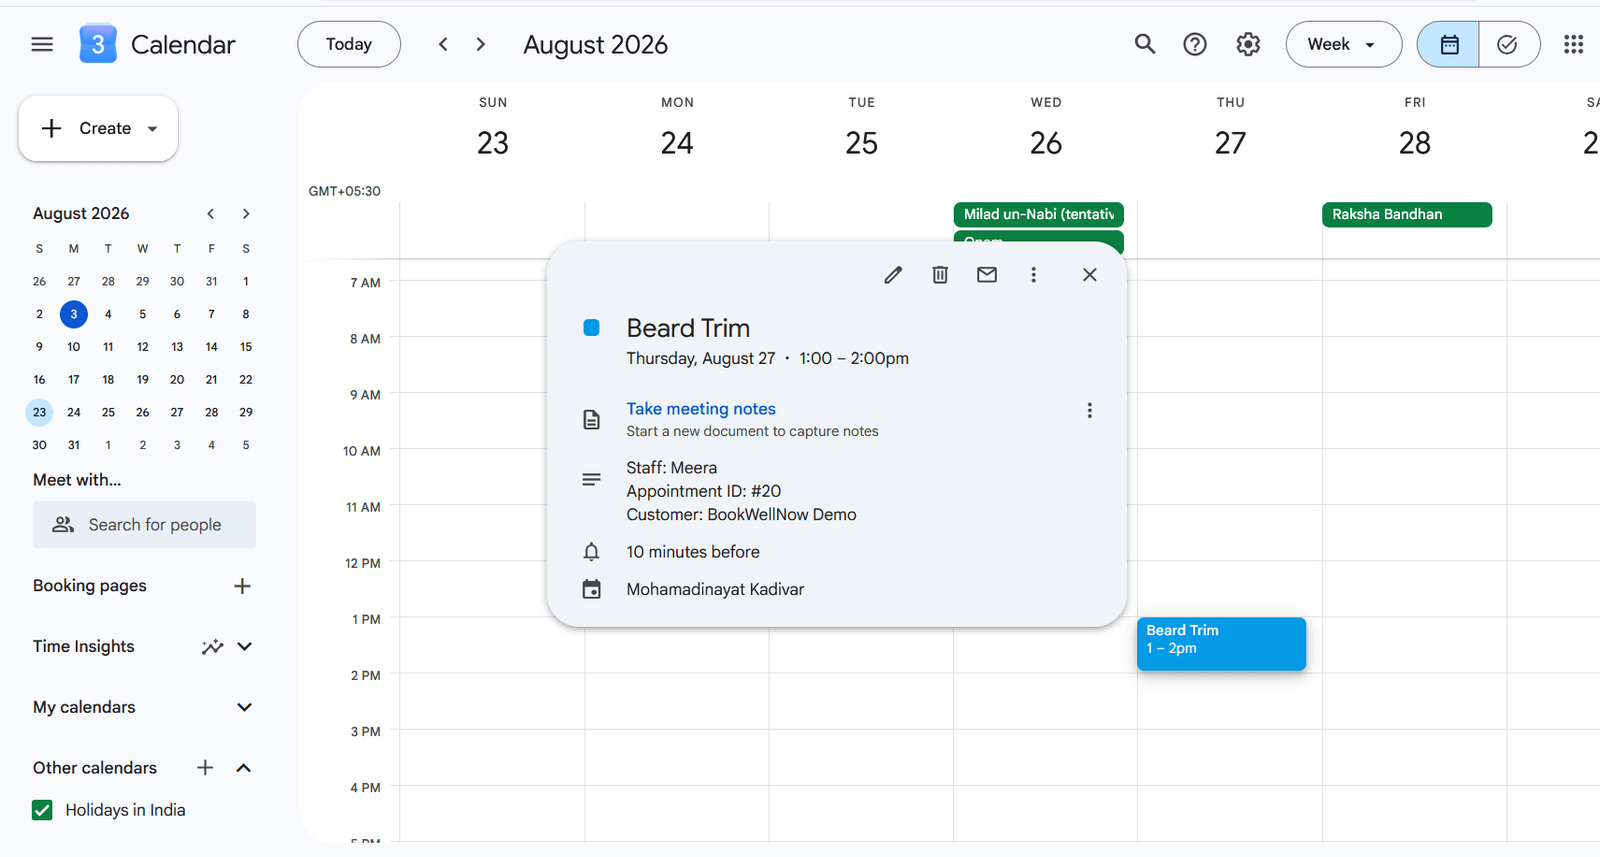
Configure Google API :
- Add Client ID.
- Add Client Secret.
Enable Google Calendar API by following the steps given below.
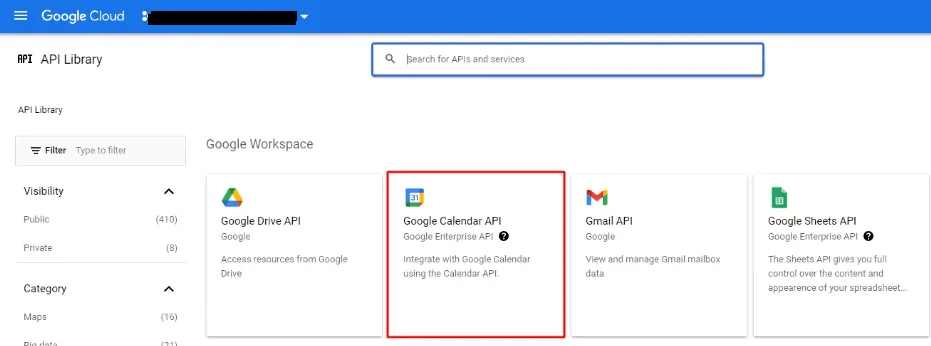
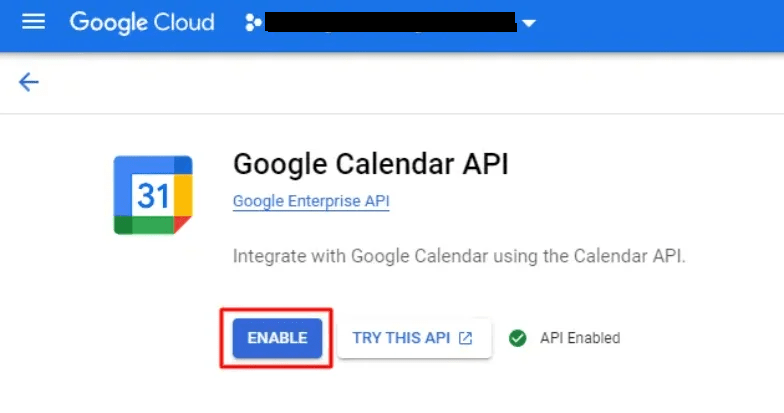
To get Client ID & Client Secret please follow the steps given below.
- Go to the Google API Console
- From the project drop-down, select an existing project, or create a new one by selecting Create a new project.
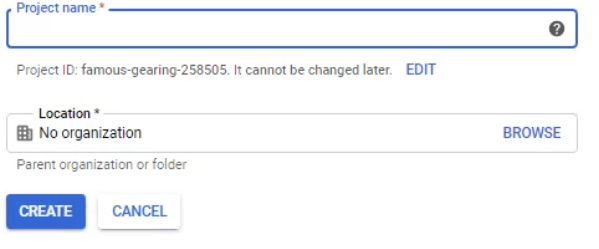
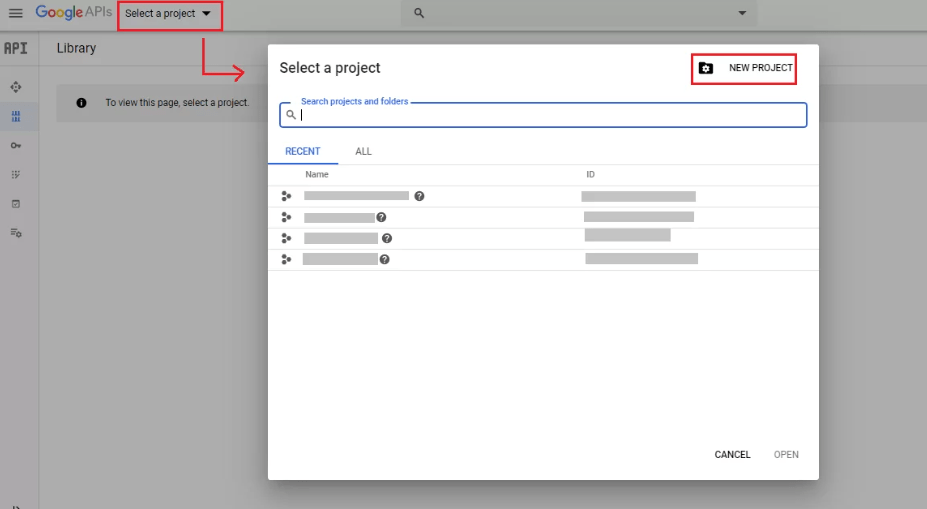
- In the sidebar under “API & Services”, select Credentials, then select the OAuth consent screen tab. Choose an Email Address, specify a Product Name, and press Save.
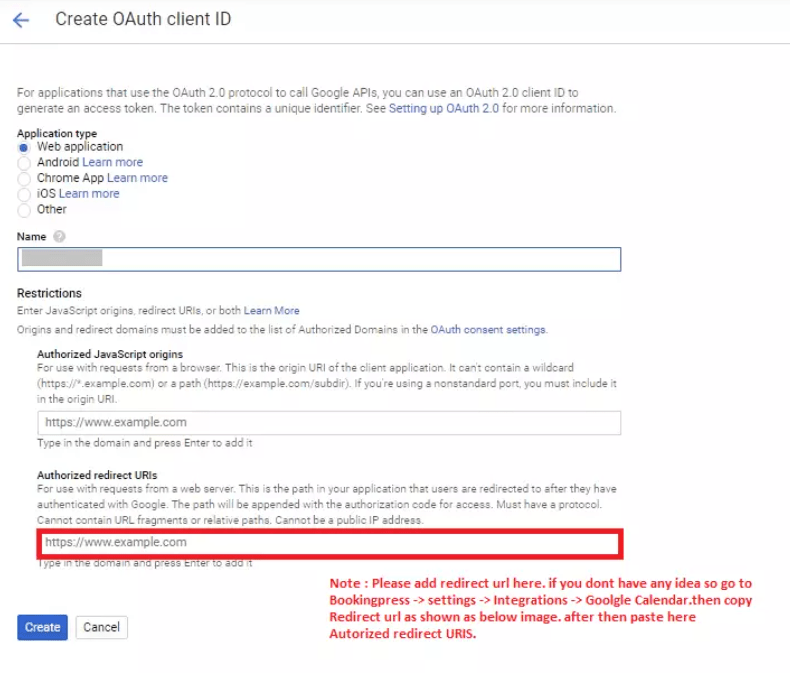
- In the Credentials tab, select the Create credentials drop-down list, and choose OAuth Client ID
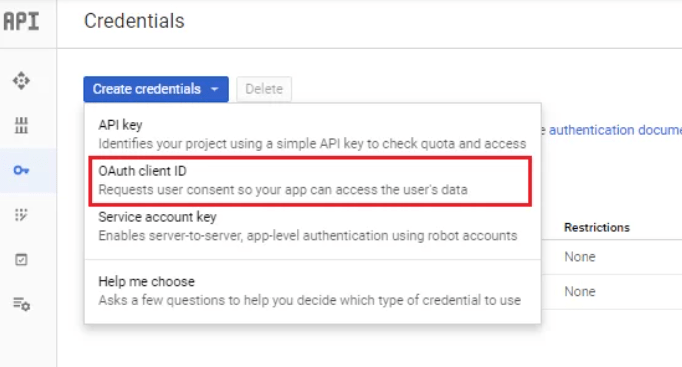
- Under Application type, select Web application. Register the origins from which your app is allowed to access the Google APIs, as follows, and set redirect URIs. An origin is a unique combination of protocol, hostname, and port.
Event Settings:
Copy and Enter the title from placeholders from the “Insert Placeholder” dropdowns to generate the Event Title dynamically according to your requirement.
Event Description:
In the same way, you will also be able to write a custom description on your own with the help of the placeholders.
Event Location:
Here you will be able to choose a field from the list of fields that are present in the “Customize Custom Fields” section. After selecting a field from the list, when the user will submit the form and the data will be mapped as a location in the Google Calendar event configured with the respective Staff Member.
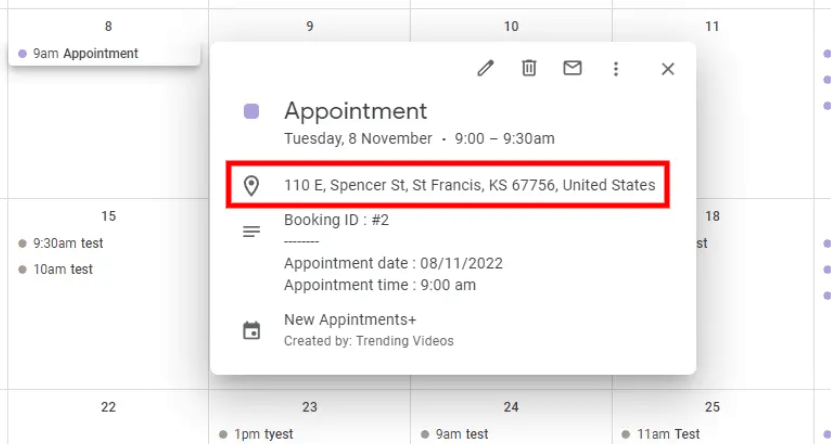
The details in the Google Calendar Event will be displayed in the location field