Add Custom Email Notification
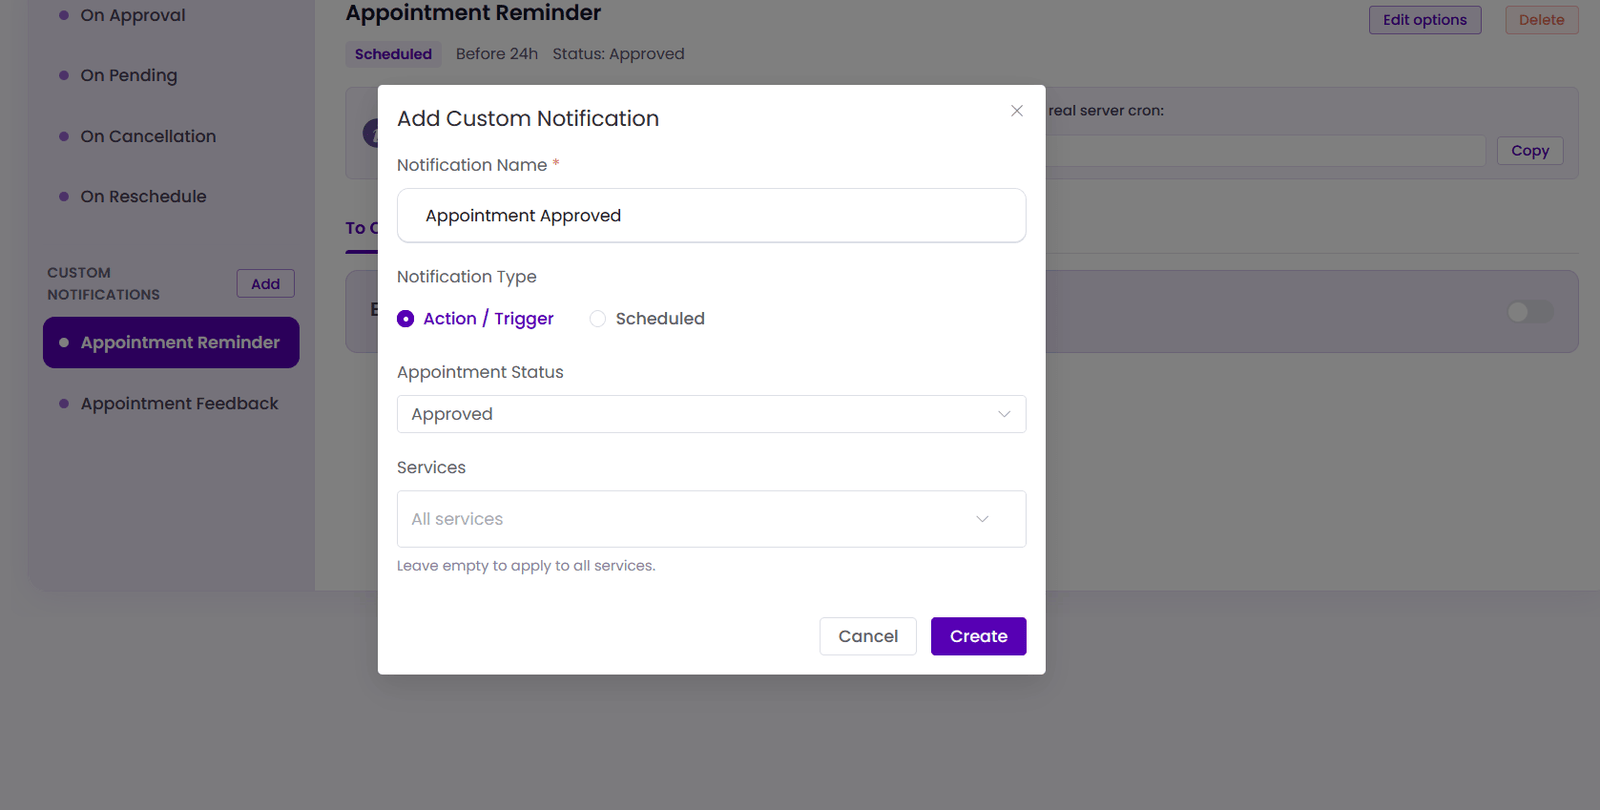
The Add Custom Notification feature allows you to create custom email notifications that are automatically sent when specific appointment events occur. You can define the notification name, choose the trigger type, set the appointment status, and optionally limit the notification to selected services.
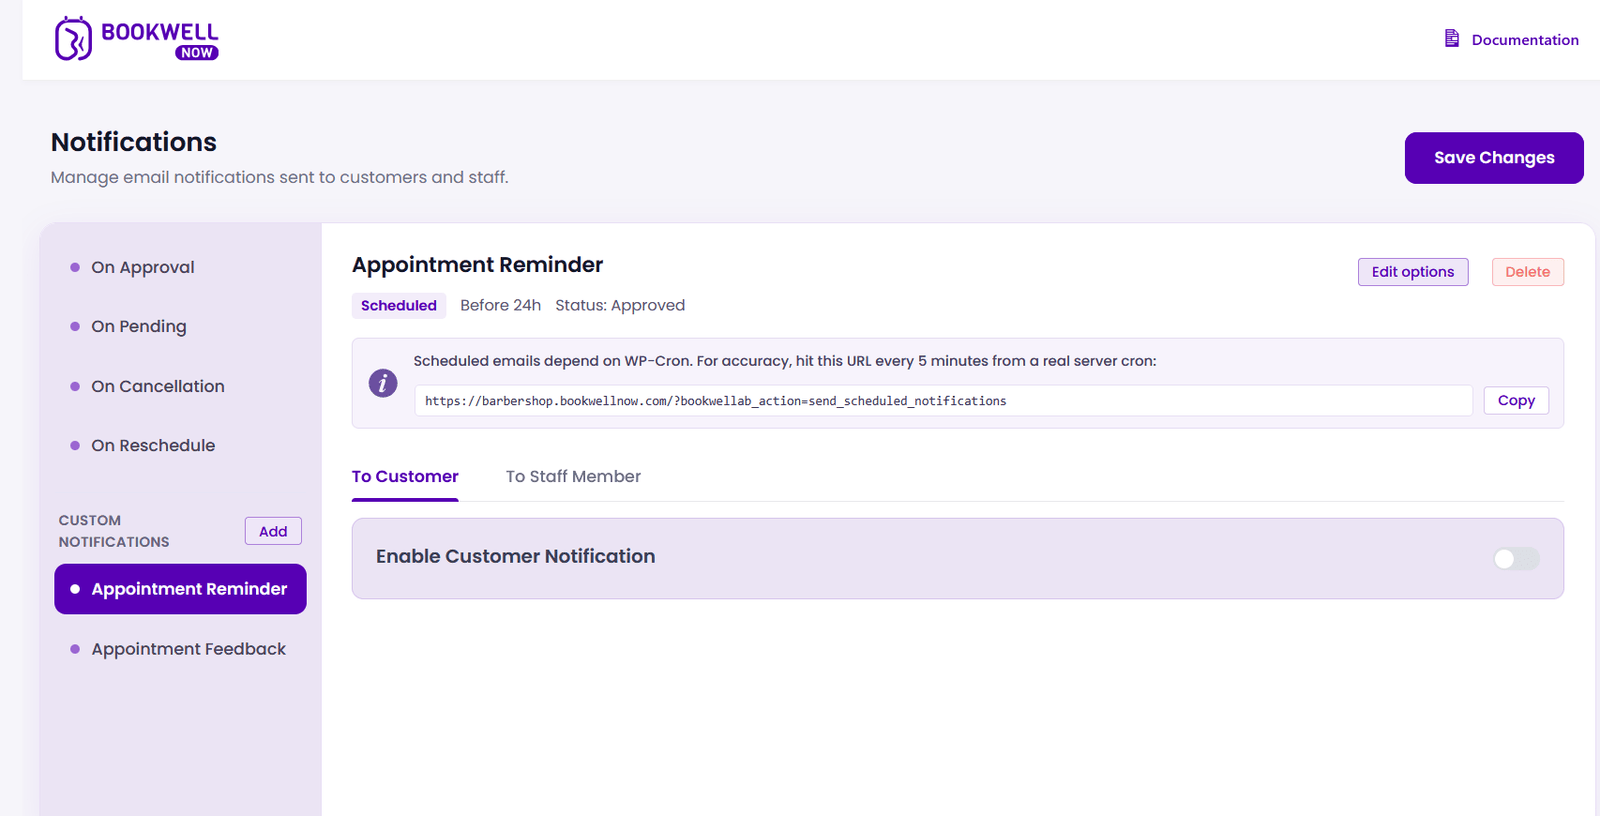
Steps to Create a Custom Notification
- Navigate to Notifications → Add Custom Notification.
- Enter a Notification Name to identify the notification.
- Select the Notification Type:
- Action / Trigger – Sends the email immediately when the selected appointment status is reached.
- Scheduled – Sends the email at a predefined time before or after the appointment.
- Choose the Appointment Status (e.g., Approved, Pending, Cancelled, Completed).
- Select one or more Services, or leave the field empty to apply the notification to all services.
- Click Create to save the notification.
Add Custom Notification Popup
After clicking Create, configure the email content and recipients before enabling the notification.
Availability and scheduled delivery
Built-in appointment status emails are available in Free. Creating custom action rules and scheduled rules requires a valid Pro license. This article describes those Pro rules.
- Open Notifications and add or edit a custom notification.
- Select Scheduled for Notification Type.
- Choose Before appointment or After appointment under Send, then set the duration in Hours, Days, Weeks or Months.
- Select the appointment status and, optionally, the services. Configure customer/staff recipients, subject and body, then save and enable the rule.
- Test with an eligible appointment in staging and verify both delivery and the notification logs.
Scheduled delivery depends on WP-Cron. Low-traffic sites can run scheduled tasks late. Ask your host to configure reliable WordPress cron execution if needed; keep normal WordPress access protections in place. Check cron execution and mail transport before assuming a timing rule is broken.